· Alexander · Homelab · 6 min read
Integrating pgAdmin with Authelia
Integrating Authelia OIDC (oAuth) with pgAdmin for that sweet, sweet, SSO.
This is also another post outside my planned posts, but I wanted to drop this as a quickie. I started deploying SSO, via Authelia, through the lab and ended up having a few PEBKAC errors with pgAdmin and figured I’d post a simple ‘guide’ to hopefully keep others from experiencing them. My pain, your gain 😅. Also, big shout out to my brother for some SSO insight since he deals with configuring it constantly at his job! 💪
Environment
For my lab I have Authelia and pgAdmin deployed via Docker Compose. Both are attached to a Swarm Overlay network for them to communicate with Caddy. For the sake of keeping this post quick I am going to skip over all the installation for pgAdmin, Authelia, and Caddy. My Caddy guide (coming soon!) will include setup instructions for Caddy and Authelia behind Cloudflare.
I will also be assuming that you already have a user/users configured in Authelia already. Either via an integration or the file provider.
Configuring Authelia for OpenID Connect (OIDC)
In order to set up OpenID Connect (OIDC) in Authelia we need to create a few secrets and a key/cert pair. To do this run the following commands while substituting yourdomain.com with the root domain you are using for Authelia as necessary. Copy the outputs and save them for later.
docker run --rm authelia/authelia sh -c "authelia crypto certificate rsa generate --common-name yourdomain.com && cat private.pem && cat public.crt"You will get an output containing both the private key and the public certificate. See the example below.
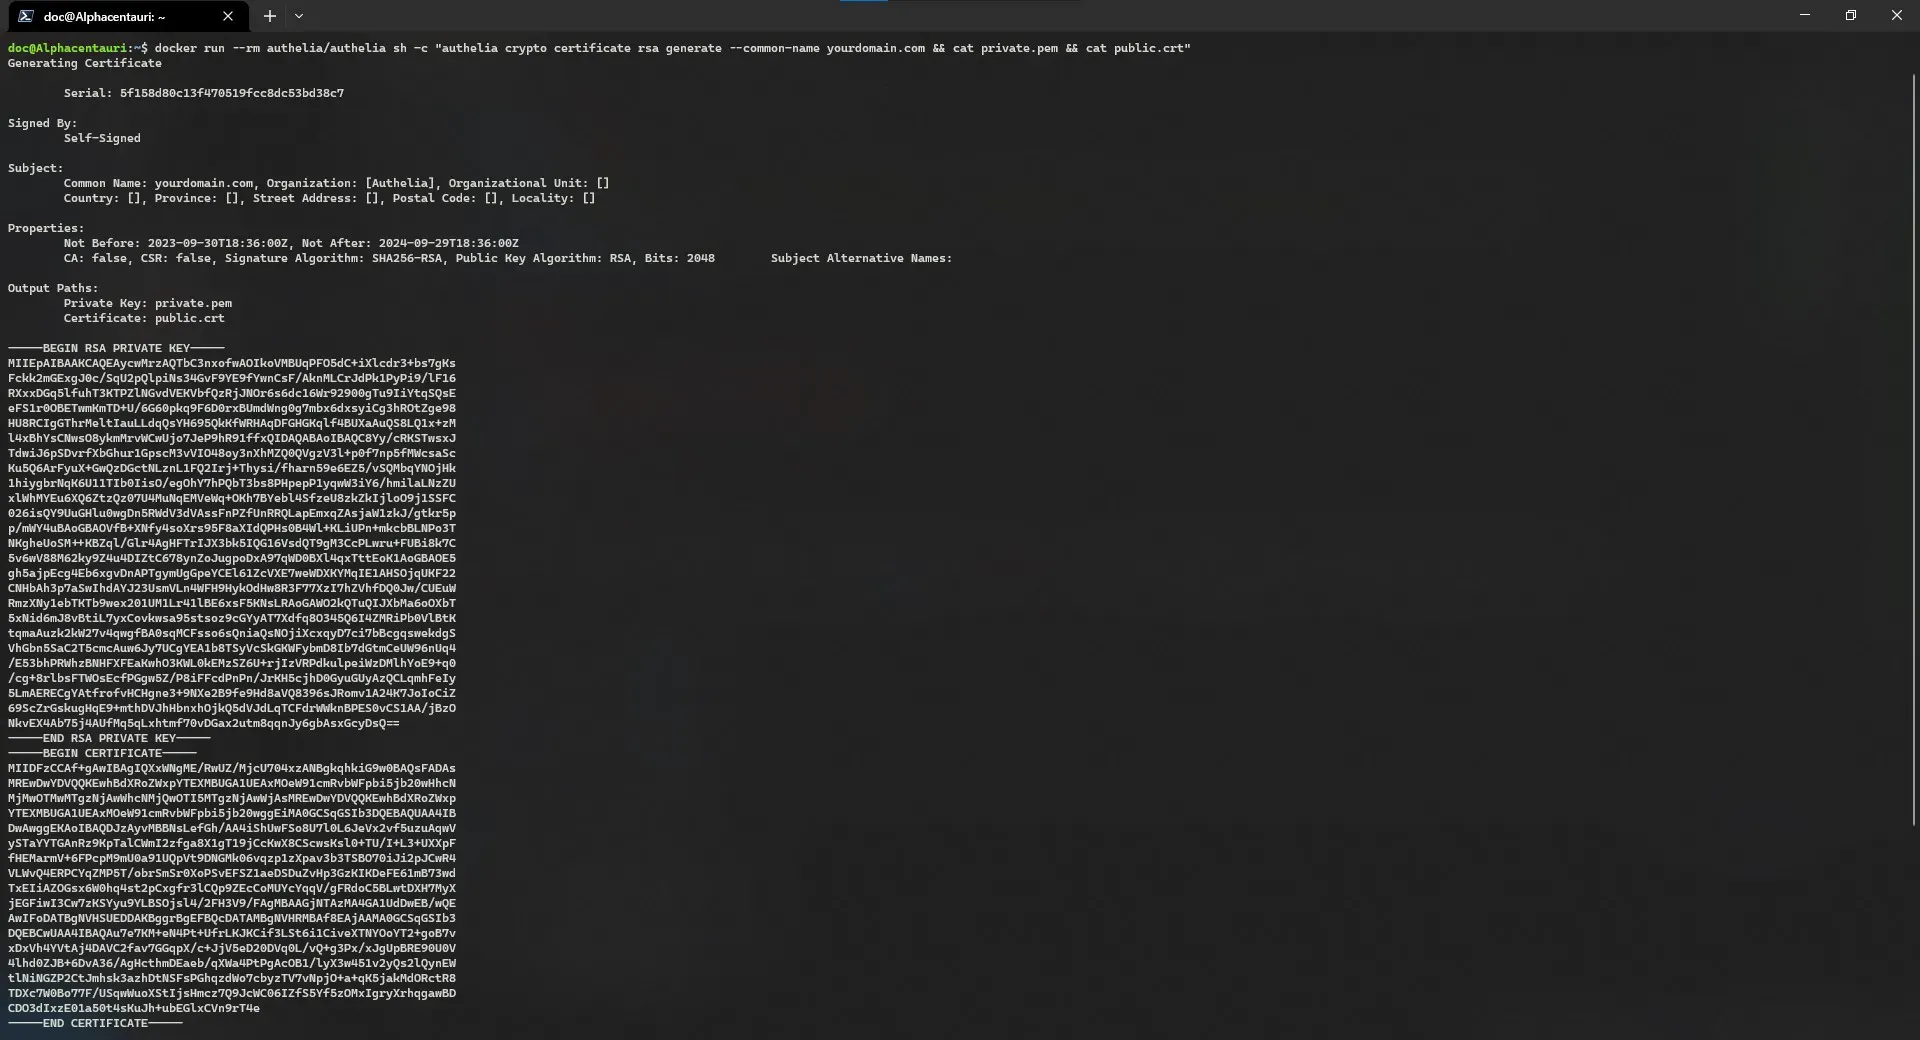 Example output for private.key and public.crt
Next generate the hmac secret.
docker run --rm authelia/authelia:latest authelia crypto rand --length 128 --charset alphanumeric Example of a hmac secret
Finally, generate the client secret for pgAdmin. I left the charset as alphanumeric as some applications do not like special characters in client secrets.
docker run --rm authelia/authelia:latest authelia crypto rand --length 128 --charset alphanumeric Example of a generated client secret
Now we need to edit our Authelia configuration.yml to enable OIDC and create the pgAdmin client. Edit the file and add the following. Make sure to substitute yourdomain.com with yours, and replace client_secret with the one generated above. Leave the hmac, issuer cert chain and private key blank. We will be using secret file loading to populate those. You can change the client id, just note it as it will be needed later.
The OIDC redirect URI for pgAdmin is: {DOMAIN}/oauth2/authorize. In my case I have pgAdmin running as a subdirectory. Make sure to change this to match your environment.
identity_providers: oidc: hmac_secret: issuer_certificate_chain: issuer_private_key: access_token_lifespan: 1h authorize_code_lifespan: 1m id_token_lifespan: 1h refresh_token_lifespan: 90m enable_client_debug_messages: true cors: allowed_origins: - https://yourdomain.com
clients: - id: pgadmin description: pgAdmin secret: client_secret ## The line above will look like the below one when populated. # secret: 5ePwB5bZ7WMEHyiKAmSkws6UuluX7W5kueXi7oZkGJRlOis6Zj2ueJPIs3zGWIPBk1vLEcP3I1eSzf4zGyTU1n391whP9yHhH0I3hbXpqK3czWeIjaCBplqQsa7hTqkt authorization_policy: two_factor consent_mode: auto pre_configured_consent_duration: 1w scopes: - openid - groups - email - profile redirect_uris: - https://yourdomain.com/pgadmin/oauth2/authorize grant_types: - refresh_token - authorization_code response_modes: - querySave and close the file.
Adding file secrets to Authelia
Create a new directory in Authelia’s called .secrets. Then create the following files with the data generated above into the new directory.
mkdir ~/authelia/.secretsCreate the following files with their respective contents:
-----BEGIN CERTIFICATE-----MIIDFzCCAf+gAwIBAgIQXxWNgME/RwUZ/MjcU704xzANBgkqhkiG9w0BAQsFADAsMREwDwYDVQQKEwhBdXRoZWxpYTEXMBUGA1UEAxMOeW91cmRvbWFpbi5jb20wHhcNMjMwOTMwMTgzNjAwWhcNMjQwOTI5MTgzNjAwWjAsMREwDwYDVQQKEwhBdXRoZWxpYTEXMBUGA1UEAxMOeW91cmRvbWFpbi5jb20wggEiMA0GCSqGSIb3DQEBAQUAA4IBDwAwggEKAoIBAQDJzAyvMBBNsLefGh/AA4iShUwFSo8U7l0L6JeVx2vf5uzuAqwVySTaYYTGAnRz9KpTalCWmI2zfga8X1gT19jCcKwX8CScwsKsl0+TU/I+L3+UXXpFfHEMarmV+6FPcpM9mU0a91UQpVt9DNGMk06vqzp1zXpav3b3TSBO70iJi2pJCwR4VLWvQ4ERPCYqZMP5T/obrSmSr0XoPSvEFSZ1aeDSDuZvHp3GzKIKDeFE61mB73wdTxEIiAZOGsx6W0hq4st2pCxgfr3lCQp9ZEcCoMUYcYqqV/gFRdoC5BLwtDXH7MyXjEGFiwI3Cw7zKSYyu9YLBSOjsl4/2FH3V9/FAgMBAAGjNTAzMA4GA1UdDwEB/wQEAwIFoDATBgNVHSUEDDAKBggrBgEFBQcDATAMBgNVHRMBAf8EAjAAMA0GCSqGSIb3DQEBCwUAA4IBAQAu7e7KM+eN4Pt+UfrLKJKCif3LSt6i1CiveXTNYOoYT2+goB7vxDxVh4YVtAj4DAVC2fav7GGqpX/c+JjV5eD20DVq0L/vQ+g3Px/xJgUpBRE90U0V4lhd0ZJB+6DvA36/AgHcthmDEaeb/qXWa4PtPgAcOB1/lyX3w451v2yQs2lQynEWtlNiNGZP2CtJmhsk3azhDtNSFsPGhqzdWo7cbyzTV7vNpjO+a+qK5jakMdORctR8TDXc7W0Bo77F/USqwWuoXStIjsHmcz7Q9JcWC06IZfS5Yf5zOMxIgryXrhqgawBDCDO3dIxzE01a50t4sKuJh+ubEGlxCVn9rT4e-----END CERTIFICATE----------BEGIN RSA PRIVATE KEY-----MIIEpAIBAAKCAQEAycwMrzAQTbC3nxofwAOIkoVMBUqPFO5dC+iXlcdr3+bs7gKsFckk2mGExgJ0c/SqU2pQlpiNs34GvF9YE9fYwnCsF/AknMLCrJdPk1PyPi9/lF16RXxxDGq5lfuhT3KTPZlNGvdVEKVbfQzRjJNOr6s6dc16Wr92900gTu9IiYtqSQsEeFS1r0OBETwmKmTD+U/6G60pkq9F6D0rxBUmdWng0g7mbx6dxsyiCg3hROtZge98HU8RCIgGThrMeltIauLLdqQsYH695QkKfWRHAqDFGHGKqlf4BUXaAuQS8LQ1x+zMl4xBhYsCNwsO8ykmMrvWCwUjo7JeP9hR91ffxQIDAQABAoIBAQC8Yy/cRKSTwsxJTdwiJ6pSDvrfXbGhur1GpscM3vVIO48oy3nXhMZQ0QVgzV3l+p0f7np5fMWcsaScKu5Q6ArFyuX+GwQzDGctNLznL1FQ2Irj+Thysi/fharn59e6EZ5/vSQMbqYNOjHk1hiygbrNqK6U11TIb0IisO/egOhY7hPQbT3bs8PHpepP1yqwW3iY6/hmilaLNzZUxlWhMYEu6XQ6ZtzQz07U4MuNqEMVeWq+OKh7BYebl4SfzeU8zkZkIjloO9j1SSFC026isQY9UuGHlu0wgDn5RWdV3dVAssFnPZfUnRRQLapEmxqZAsjaW1zkJ/gtkr5pp/mWY4uBAoGBAOVfB+XNfy4soXrs95F8aXIdQPHs0B4Wl+KLiUPn+mkcbBLNPo3TNKgheUoSM++KBZql/Glr4AgHFTrIJX3bk5IQG16VsdQT9gM3CcPLwru+FUBi8k7C5v6wV88M62ky9Z4u4DIZtC678ynZoJugpoDxA97qWD0BXl4qxTttEoK1AoGBAOE5gh5ajpEcg4Eb6xgvDnAPTgymUgGpeYCEl61ZcVXE7weWDXKYMqIE1AHSOjqUKF22CNHbAh3p7aSwIhdAYJ23UsmVLn4WFH9HykOdHw8R3F77XzI7hZVhfDQ0Jw/CUEuWRmzXNy1ebTKTb9wex201UM1Lr41lBE6xsF5KNsLRAoGAWO2kQTuQIJXbMa6oOXbT5xNid6mJ8vBtiL7yxCovkwsa95stsoz9cGYyAT7Xdfq8O345Q6I4ZMRiPb0VlBtKtqmaAuzk2kW27v4qwgfBA0sqMCFsso6sQniaQsNOjiXcxqyD7ci7bBcgqswekdgSVhGbn5SaC2T5cmcAuw6Jy7UCgYEA1b8TSyVcSkGKWFybmD8Ib7dGtmCeUW96nUq4/E53bhPRWhzBNHFXFEaKwhO3KWL0kEMzSZ6U+rjIzVRPdkulpeiWzDMlhYoE9+q0/cg+8rlbsFTWOsEcfPGgw5Z/P8iFFcdPnPn/JrKH5cjhD0GyuGUyAzQCLqmhFeIy5LmAERECgYAtfrofvHCHgne3+9NXe2B9fe9Hd8aVQ8396sJRomv1A24K7JoIoCiZ69ScZrGskugHqE9+mthDVJhHbnxhOjkQ5dVJdLqTCFdrWWknBPES0vCS1AA/jBzONkvEX4Ab75j4AUfMq5qLxhtmf70vDGax2utm8qqnJy6gbAsxGcyDsQ==-----END RSA PRIVATE KEY-----aI84lHge7keZhU7sh7gLZgCUcAIpr9qQruya5O8mkcd5UlZ9tubi4fQs8Ps1peQNbahHaTCQ0OOEftEB6q5E2Hk8WLozX6xeBjhAtqihWZcYnwSBuUeAs2jwCus4uc2SNow edit your Authelia .env file and add the following OIDC variables.
# JWT SecretAUTHELIA_JWT_SECRET_FILE=/secrets/jwt_secret
# OIDC SecretsAUTHELIA_IDENTITY_PROVIDERS_OIDC_HMAC_SECRET_FILE=/secrets/oidc_hmac_secretAUTHELIA_IDENTITY_PROVIDERS_OIDC_ISSUER_CERTIFICATE_CHAIN_FILE=/secrets/oidc_issuer_certAUTHELIA_IDENTITY_PROVIDERS_OIDC_ISSUER_PRIVATE_KEY_FILE=/secrets/oidc_private_key
# Session SecretAUTHELIA_SESSION_SECRET_FILE=/secrets/session_secret
# DB SecretAUTHELIA_STORAGE_POSTGRES_PASSWORD_FILE=/secrets/storage_postgres_passwordAUTHELIA_STORAGE_ENCRYPTION_KEY_FILE=/secrets/storage_encryption_key
Save and re-deploy Authelia to update the configuration.
Configuring pgAdmin for OAuth
Edit your pgAdmin .env file with the following environment variables. The pgAdmin config is annoying in that you need to specify the OAUTH_CONFIG settings inside an object. So it seems complicated but it is not. Each pair is defined as 'key_name': 'value' and is separated by ,. Go through and edit the object array to match your client config and root domain. All the API endpoints are correct for Authelia so just change the root domain! For more info on the config options for pgAdmin see the docs’ page here.
# First time setup / default userPGADMIN_DEFAULT_EMAIL=temp@temp.comPGADMIN_DEFAULT_PASSWORD=temp1234
# SubdirSCRIPT_NAME=/pgadmin
# Authentication (oAuth)PGADMIN_CONFIG_AUTHENTICATION_SOURCES=['oauth2', 'internal']PGADMIN_CONFIG_OAUTH2_CONFIG="[{'OAUTH2_NAME': 'Authelia','OAUTH2_DISPLAY_NAME': 'Authelia','OAUTH2_CLIENT_ID': 'pgadmin','OAUTH2_CLIENT_SECRET': '5ePwB5bZ7WMEHyiKAmSkws6UuluX7W5kueXi7oZkGJRlOis6Zj2ueJPIs3zGWIPBk1vLEcP3I1eSzf4zGyTU1n391whP9yHhH0I3hbXpqK3czWeIjaCBplqQsa7hTqkt','OAUTH2_API_BASE_URL': 'https://auth.yourdoamin.com/','OAUTH2_TOKEN_URL': 'https://auth.yourdomain.com/api/oidc/token','OAUTH2_AUTHORIZATION_URL': 'https:/auth.yourdomain.com/api/oidc/authorization','OAUTH2_USERINFO_ENDPOINT': 'https://auth.yourdomain.com/api/oidc/userinfo','OAUTH2_SERVER_METADATA_URL': 'https://auth.yourdomain.com/.well-known/oauth-authorization-server','PGADMIN_CONFIG_OAUTH2_ICON': 'fa-sign-hanging','OAUTH2_SCOPE': 'openid email profile','OAUTH2_BUTTON_COLOR': '#1c3054'}]"
# Auto create OAUTH users in pgAdmin# Set this to False if you only want to register the first user that signs on only after signing in with said user!PGADMIN_CONFIG_OAUTH2_AUTO_CREATE_USER=TrueSave and close the file. Then redeploy pgAdmin to use the new configuration. Once pgAdmin redeploys open your browser and navigate to pgAdmin. You should see a new option listed on the login page for logging in with Authelia.
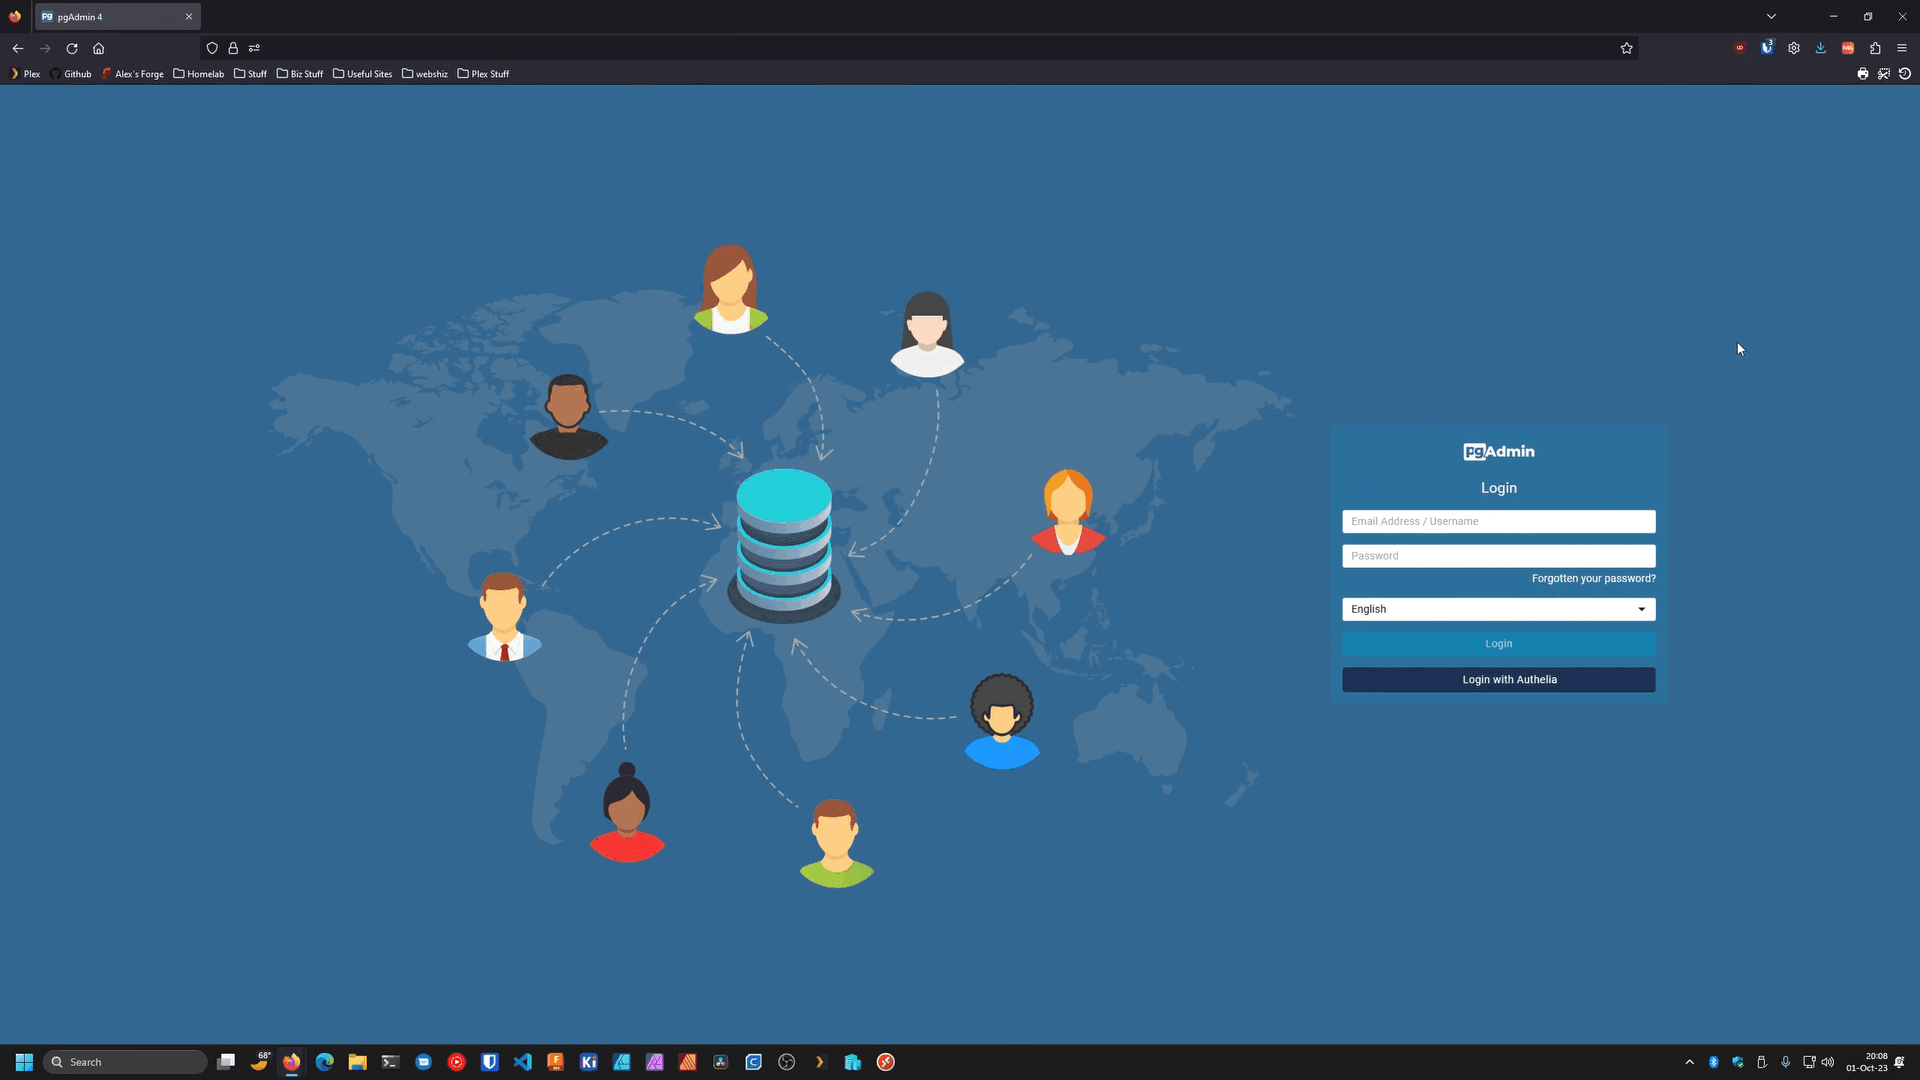
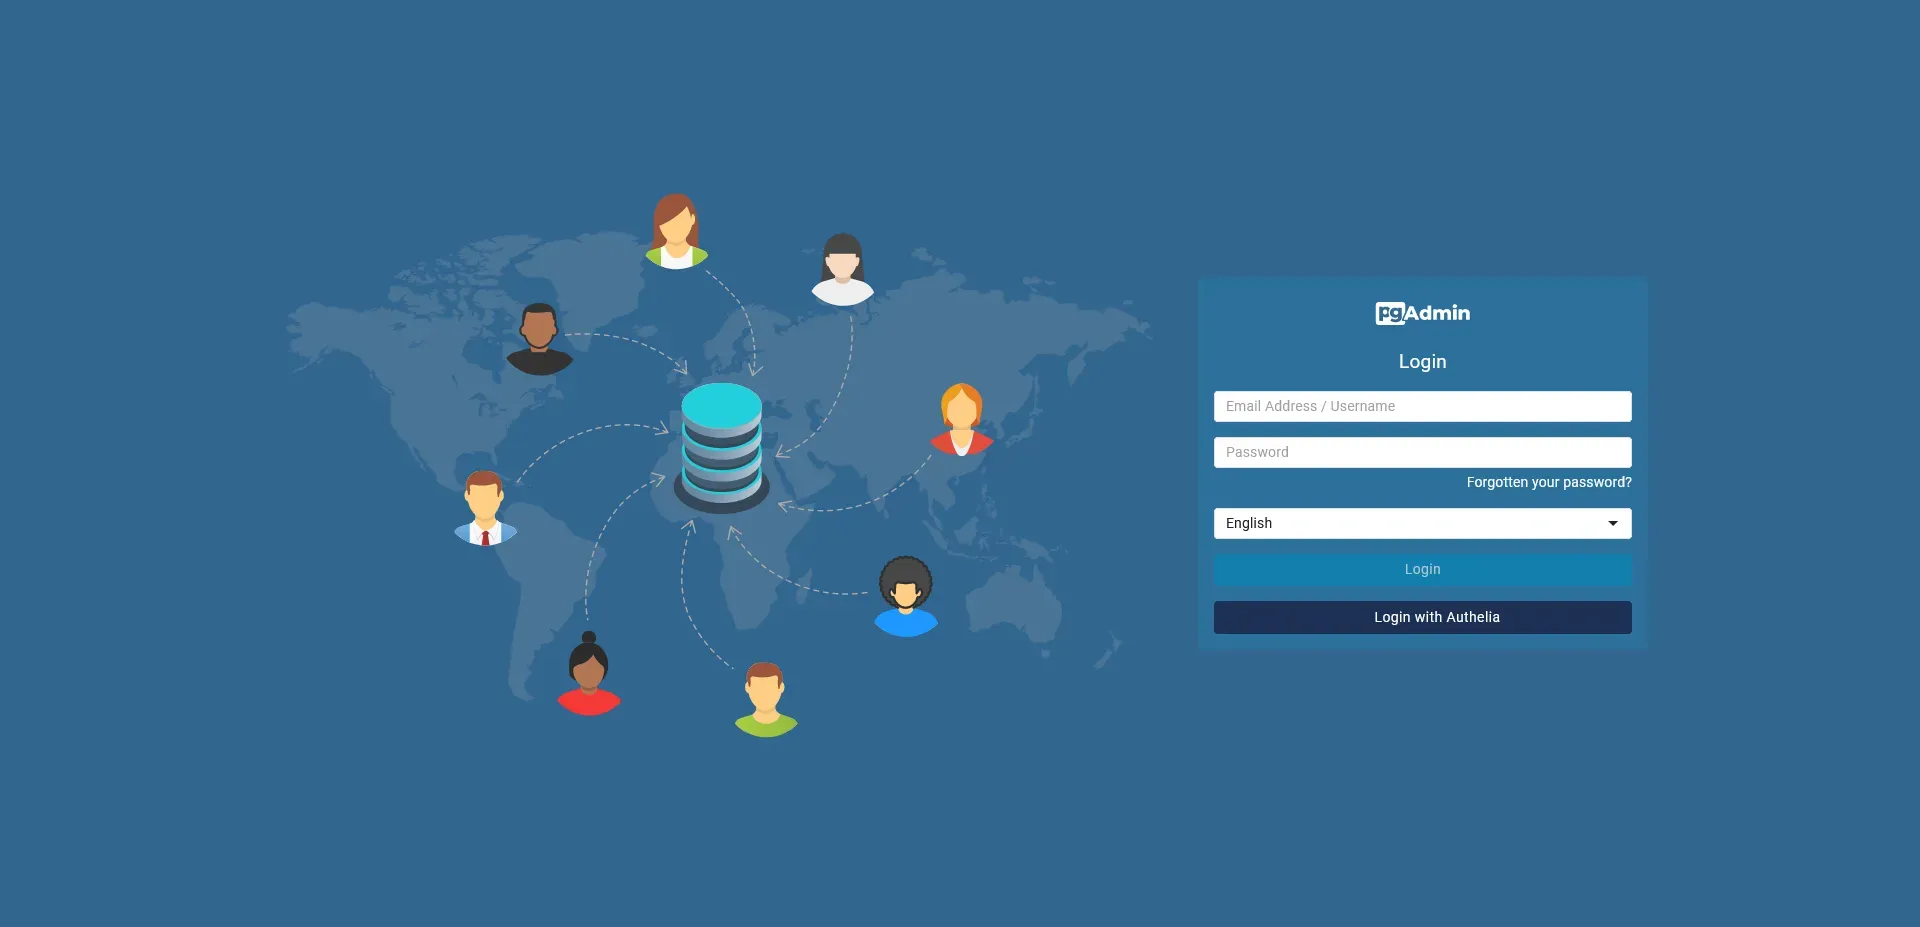 Example of my sign-in page for pgAdmin while OAuth is enabled
Click “Log in with Authelia”. If everything is set up correctly you should be redirected to your Authelia sign in page. Once you sign in you should be redirected back to pgAdmin’s dashboard. You will be prompted to create a master password. This password is used for locking/unlocking saved server passwords when the authentication source is either OAuth2, Kerberos, or Web server. You can disable this but it is not recommended. See here for more details.
 Example of the pgAdmin sign in flow with Authelia 2FA and master password prompt
Conclusion
Hopefully this post keeps someone from hitting a wall with pgAdmin OAuth config like I did initially. I probably won’t be uploading any files to the blog-files repository since this isn’t really a proper “guide” post that I normally make. Though, like always, if you run into issues feel free to reach out via the comments, or email!
Oh, and you bet I will be looking for a way to have notifications sent to ntfy on successful authentications via Authelia.. haha…
Resources
- pgAdmin docs - https://www.pgadmin.org/docs/pgadmin4/latest/index.html
- Authelia OIDC docs - https://www.authelia.com/configuration/identity-providers/open-id-connect/
- OpenID Connect docs - https://openid.net/developers/how-connect-works/